
No Body No Problem Hiding Spots Tier List
A No Body No Problem hiding spots tier list: shed and stockroom lead, car trunks and closets are solid, while the grill, bushes, and pool are risky decoys.
Quick answer: The strongest hiding spots are enclosed, off the cop's natural path, and close enough to reach before the timer runs down. The shed and stockroom lead the list; car trunks, bedroom closets, and dumpsters are solid; the grill, bushes, and pool are risky but useful as decoys. This ranking is based on the official location types and the physics described on the store page, not on a finished retail build.
The tier list is a planning tool, not a rulebook. A spot's rank changes with the map, the cop's route, and how much time the carrier has. Use the tiers to pick a primary and a fallback, then adjust in the round.
The ranking criteria
Four factors decide a spot's tier:

| Factor | Question |
|---|---|
| Enclosure | Does it have a door or lid, or is it open? |
| Path | Is it on the cop's likely search route? |
| Carry cost | Can the body reach it in one or two legs? |
| Escape | Can the carrier leave without crossing the cop? |
A spot that wins on enclosure but loses on carry cost is not an S tier. A spot that is fast but obvious is not a C tier either; it can be the right choice when the timer is low.
S tier: the shed and the stockroom
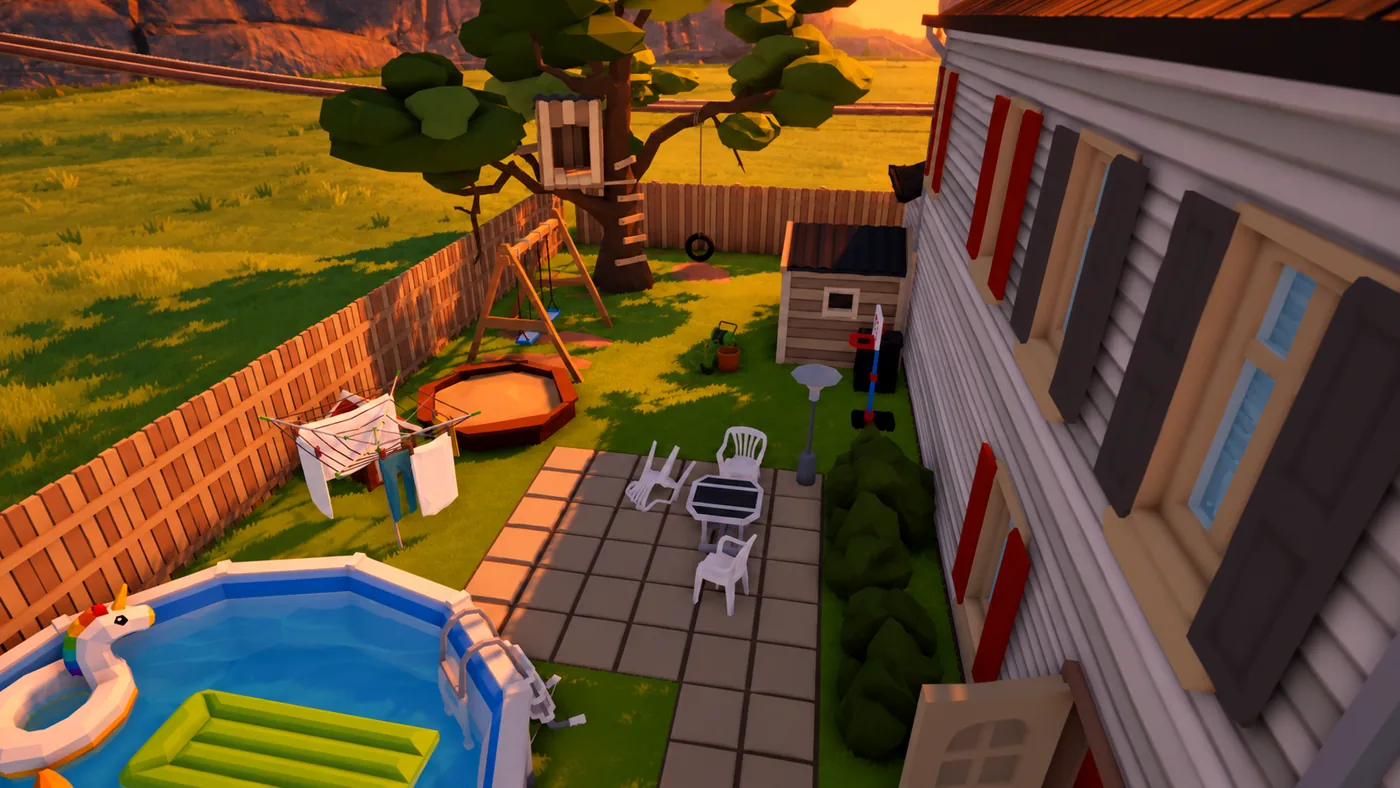
Shed (suburban house). A separate structure in the yard, with a door and enough space for a body. It is off the main house route, so the cop has to choose to walk out and check it. The cost is the carry across the yard, which is exposed in daylight.
Stockroom (crowded shop). An enclosed back room behind a staff door. It is the best indoor spot because the cop has to clear the public floor before committing to the back. The risk is that the stockroom is also an obvious place for a cop to check early.
Both spots share the same quality: they force the cop to make a decision. A cop who checks the shed or the stockroom is spending time away from the main scene.
A tier: trunk, closet, dumpster
Car trunk. Fully enclosed and fast to close. The body disappears completely. The weakness is that the car is a giant visual anchor; a cop who sees a car will check the trunk. Use it when speed matters or when the cop is on the far side of the map.
Bedroom closet. Indoor, close to the body, and fully enclosed. The cop checks closets first, so the closet is a one-pass spot. It works best when the trail is clean and the suspect is in another room.
Dumpster. Outdoor, common, and easy to reach. It hides the body well, but it is a known hiding place. The dumpster's rank depends on whether the cop searches the exterior before the interior.
B tier: grill, bushes, pool
Grill. The official news post names it, which makes it an expected spot. It is small, and the lid may not close cleanly. Its best use is as a decoy: let the cop check the grill, then move the body to the shed.
Bushes. No door to open, but partial concealment. A UV light can expose residue, and a cop walking the fence line can see disturbed branches. Use bushes as a temporary spot, not a final one.
Pool. Water conceals the body, but the pool area is open and visible. It is a high-risk, high-reward spot: great if the cop is inside, terrible if the cop walks the perimeter.
C tier: the obvious and the awkward
Under the bed. The body may not fit cleanly, and moving the bed creates noise and disturbance. A cop who checks under the bed finds the body and the drag marks in one look.
Bathroom. Small, easy to clear, and usually close to the main hallway. The body has nowhere to go if the cop opens the door.
Balcony. Outdoor and visible from the street or yard. It is a last-resort spot when the timer is already gone.
Between cars. Partial concealment in an open, echoey space. The body is visible from the ramp, and the cop can check the row quickly.
The retail build may change container sizes, map layouts, or the cop's tools. Use this list to plan, then re-test in a private lobby after launch.
How to use the tiers in a round
- Primary: pick an S or A spot near the body.
- Fallback: pick a second spot within ten seconds of the primary.
- Decoy: if the cop heads for the primary, let them check it and move the body to the fallback.
- Emergency: if the timer is under 30 seconds, use the nearest A or B spot, even if it is obvious.
The best teams do not just pick a high-tier spot. They pick a spot and a story that explains why no one is near it.
What would change the ranking
A spot moves up or down if:
- The cop's search pattern changes.
- The map adds or removes a container.
- The body's collision size changes.
- The timer or lobby settings change.
- A patch adds a new tool that reveals residue.
The hiding spots page→ covers the locations in detail, and the maps page→ covers the layout differences.
The container is only half the hide. The route and the cleanup decide whether the cop finds it.
Official source: No Body No Problem on Steam ↗
Official source: Suburban map announcement ↗
Official source: PlayStation Store concept page ↗
FAQ
What is the best hiding spot in No Body No Problem?
The shed on the suburban map and the stockroom on the shop map are the strongest enclosed spots. A car trunk is the best fast spot.
Is the pool a top-tier hiding spot?
No. It conceals the body, but the pool area is open and visible. It is a situational B-tier spot.
Are bushes good for hiding a body?
Bushes are partial concealment. They work as a temporary spot or a decoy, but a cop walking the fence line can see the disturbance.
Should you always use an S-tier spot?
No. The nearest viable spot is often better than a distant S-tier spot, because the carry is where plans fail.
Will the tier list change after launch?
Yes. Container sizes, map layouts, and tools can change. Re-test the spots in a private lobby after November 26.
More No Body No Problem Wiki Guides
No Body No Problem Clean Evidence Guide
How to clean evidence in No Body No Problem: work backward from the body, clean the carry route, avoid the fresh-patch tell, and leave the room looking normal.
No Body No Problem Co-Op: Friends and Private Lobbies
No Body No Problem co-op is online four-player play with three suspects working together against one cop. Private codes and role rotation help a group.
No Body No Problem Controls and Keybinds
No Body No Problem controls: 1-5 select hand, knife, gun, handcuffs, and UV light; G drops, H grabs the radio, V talks, B emotes, and hold to cuff.
No Body No Problem Cop Guide
How to play the cop in No Body No Problem: search the edges, read doors and clean patches, use the UV light and cuffs, and pressure suspects without guessing.
No Body No Problem Demo: What Happened
A free No Body No Problem demo was announced on October 16, 2026, but its Steam page is not reliably visible now. Here is what the demo showed and how to check.
No Body No Problem Gameplay Explained
No Body No Problem gameplay is physics-based social stealth for four players: three suspects hide a body while one cop reads the scene. Here is the loop.
No Body No Problem Hide Body Strategy
A practical No Body No Problem hide body strategy: scout the route, pick the container, carry in short legs, clean the trail, and keep a fallback spot.
No Body No Problem Hiding Spots by Map
The best No Body No Problem hiding spots by location: apartment closets, shop shelves, car park vehicles, and the suburban grill, shed, bushes, and pool area.